
I got this question recently and realized it’s a common problem:
I am using the ” Impulse” theme, and after I create the collection list on the front page, it also shows on every single page (pagination pages). is there a way for me to just let the sub-collection list on the first page only?
- From my video about sub-collections: https://youtu.be/6xABjVe_wsc
The problem:
You want to display a content section on a collection - maybe it’s a collection list like in this question (to fake “sub-collections”), or maybe it’s a featured product, or some promo content.
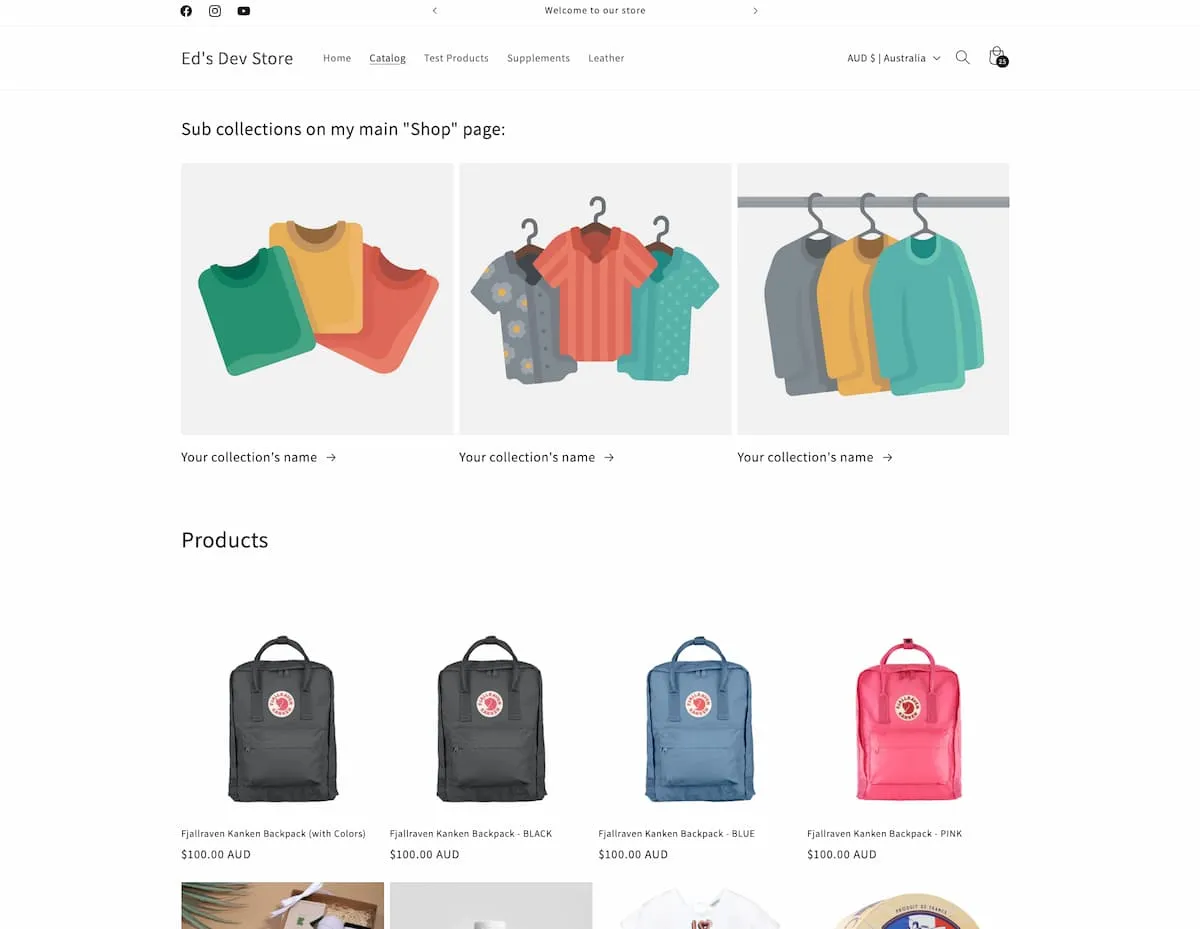
Whatever it may be, you don’t want it to show on page 2, page 3 etc…
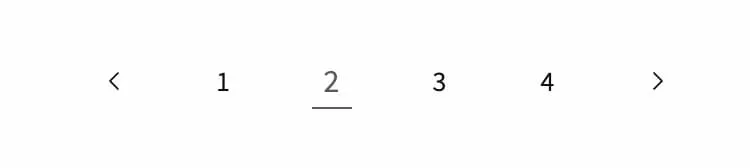
It could be confusing for your customers if, after clicking “2”, they saw the same content as the top of page 1, making them doubt if the page even changed.
What should happen is you see the subcollections or the promo one time. Then, as you go on to page 2 you see just products.
There are many solutions for this problem when editing theme code.
However, in the interests of an easy update in the future, you want to avoid editing theme code for minor tweaks like this.
Instead, we can use a Custom Liquid section to detect if we are not on page 1, and use CSS to hide the section.
Step 1: Add a Custom Liquid section and detect the current page with Liquid
Add a Custom Liquid section to your collection page template. It doesn’t matter where it is exactly in the section order, because it won’t be outputting anything visual to the page.
Add the following code:
{% if current_page != 1 %}
  TEST
{% endif %}
Here we have a block of Liquid logic, and inside it, the word TEST (temporarily).
The liquid lines (inside of {% %} braces) are saying: IF the current page is NOT page 1, output the word TEST.
When you save, you should not see the word TEST on page 1, but switch to page 2 and it should appear.
You can remove the word TEST now. We are going to replace it with some CSS in Step 3.
Step 2: Find the section ID of the section you want to hide.
Now you need to use the inspector to view the code in Google Chrome or Firefox, or whichever browser you are using.
To open the inspector, right-click on the section you want to hide and click “Inspect”.
Hovering over the code will highlight parts of the page. You want to find the <section> tag. This is where your entire section code is kept. This tag should come with an ID.
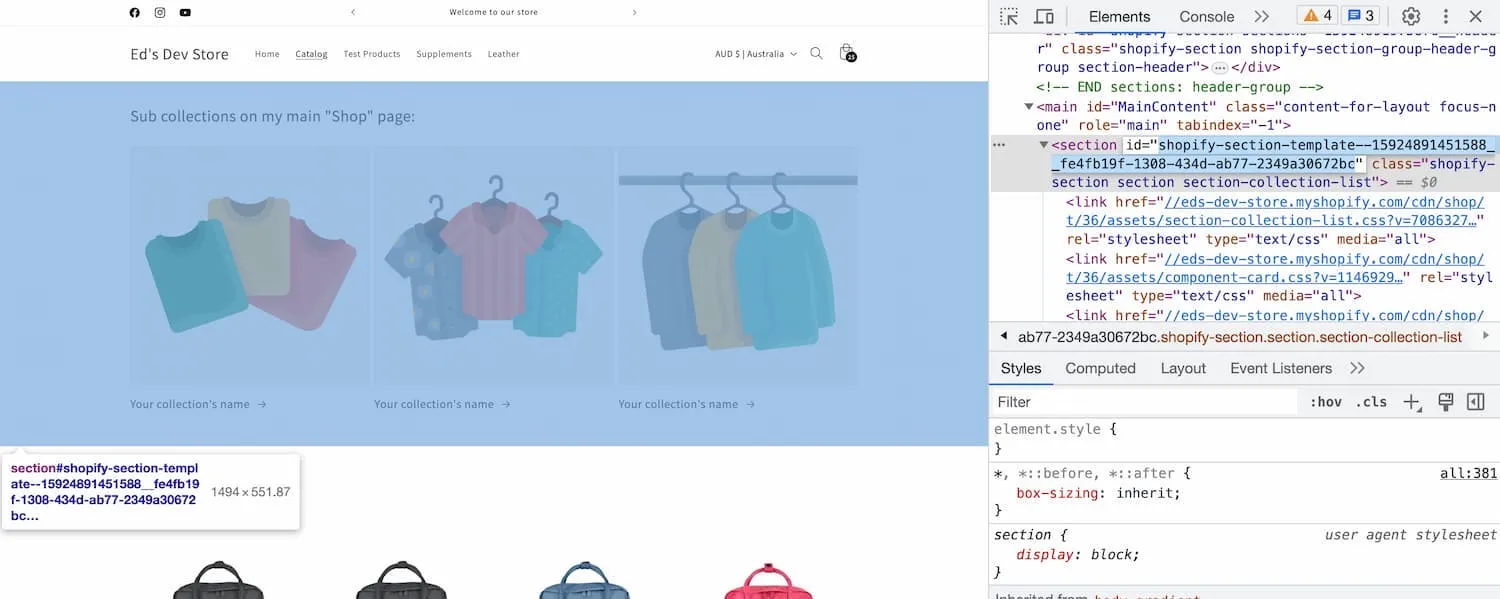
Take a close look at my screen below. I’ve highlighted the ID.
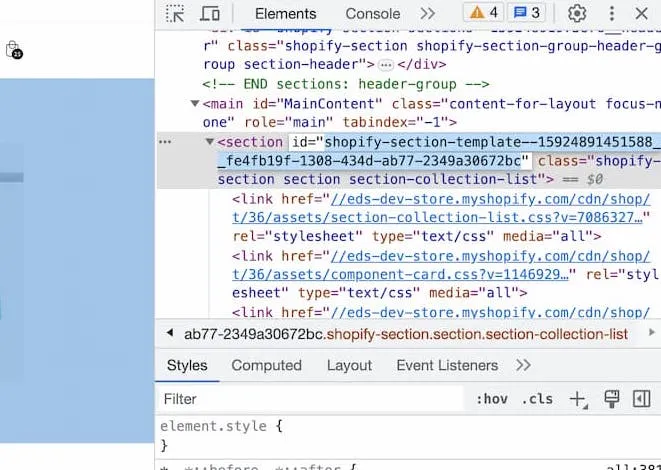
Copy this, and you’re going to paste it in the next step.
Step 3: Let’s add some CSS to hide the section
In custom liquid, we can always add style tags to use CSS:
<style> CSS styles go here</style>Now we can target our section by the ID from Step 2, and use display: none; to hide it.
To target an ID in CSS, you need to add a hash # in front of the ID:
#shopify-section-template--15924891451588__fe4fb19f-1308-434d-ab77-2349a30672bc {
  display: none;
}
Now let’s put it all together.
The final code, with our liquid from step 1:
You can copy & paste this, but make sure you switch out the section ID with your own.
{% if current_page != 1 %}
  <style>
    #shopify-section-template--15924891451588__fe4fb19f-1308-434d-ab77-2349a30672bc {
      display: none;
    }
  </style>
{% endif %}
It’s quick and dirty but it gets the job done.
If you’re a dev, a more long-term solution might be to add a class to the body element, called “paginating”, and in CSS hide certain section types if they are a child of this class. You can also detect the page with JS, checking the URL parameters for page=1.